
Guide · Step 6 of 8
Presets and undo
Keep the looks you like under a name, and step back through every change.
Save a look as a preset
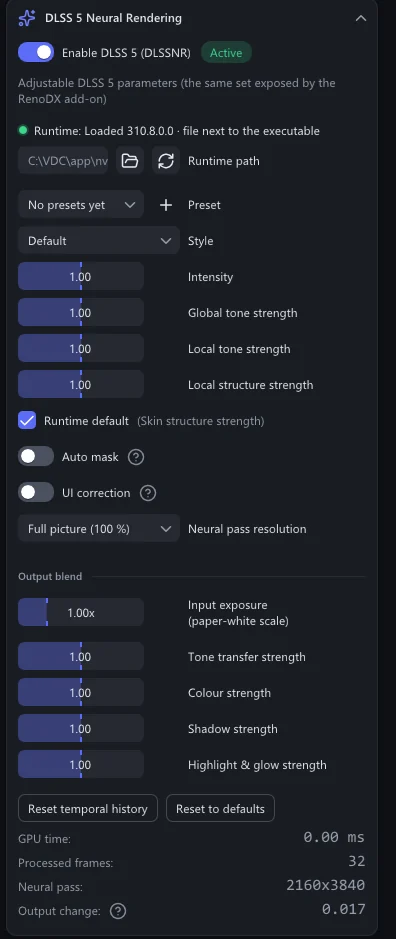
A preset keeps the DLSS 5 look under a name: the Style, the Intensity, the tone and structure strengths, Auto mask and UI correction, the output blend and the Neural pass resolution.
Set the look you like.
In DLSS 5 Neural Rendering, click + next to Preset.
Type a name and click Save.
The name shows in the Preset box.
Saving under a name that already exists overwrites that preset.
Use, change, delete
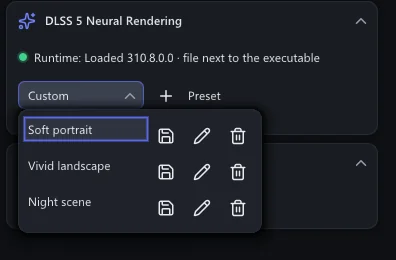
- Open the Preset box and click a name to apply it.
- Each row has three buttons: overwrite it with the current values, rename it, delete it.
- When you change a value after applying a preset, the box says Custom.
Presets are kept in presets.txt in the settings folder. Where that is
Undo and redo
Every change to a setting, and every file added to or taken out of the library, can be undone.
- Ctrl+Z undoes. Ctrl+Y or Ctrl+Shift+Z redoes.
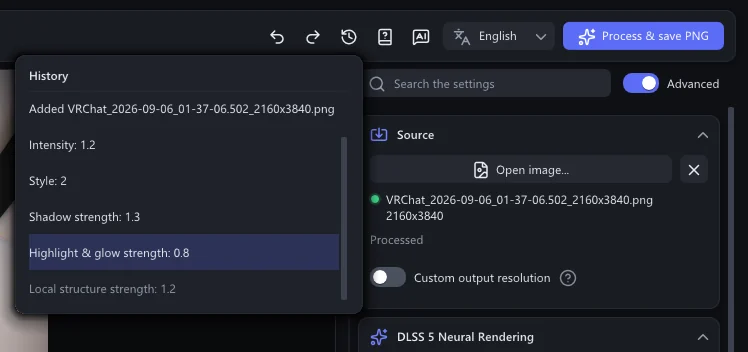
- The two arrows in the top bar do the same.
- The clock button next to them opens the History: every change as a list, such as Intensity: 1.2 or Added photo.png. Click an entry to go back to it. The later steps stay until you make a new change.
The app keeps up to 100 steps.