
Guide · Step 2 of 8
Your first picture
Open a photo, compare it with the DLSS 5 result and save it. VRChat does not need to run.
On this page
The easiest start is a photo you already have, for example one from VRChat's own Pictures\VRChat folder.
Open a picture
Start the app.
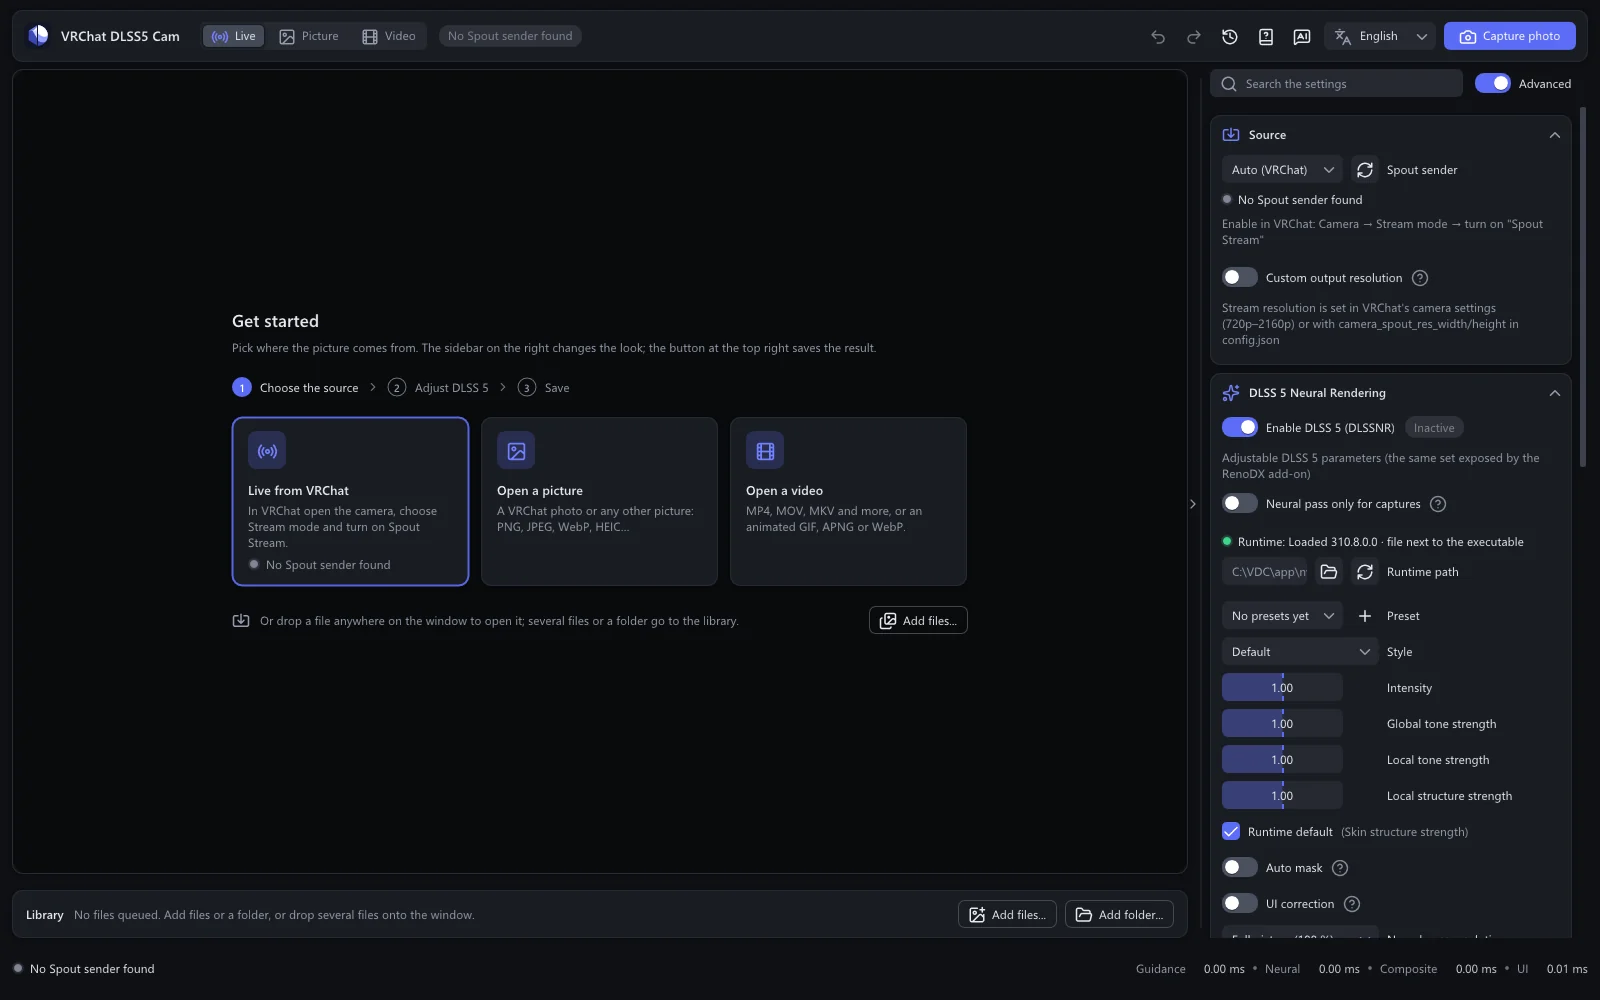
The Get started page fills the picture area.
Click Open a picture and choose a file. PNG, JPEG, BMP, TIFF, WebP and HEIC work. You can also drag the file onto the window.
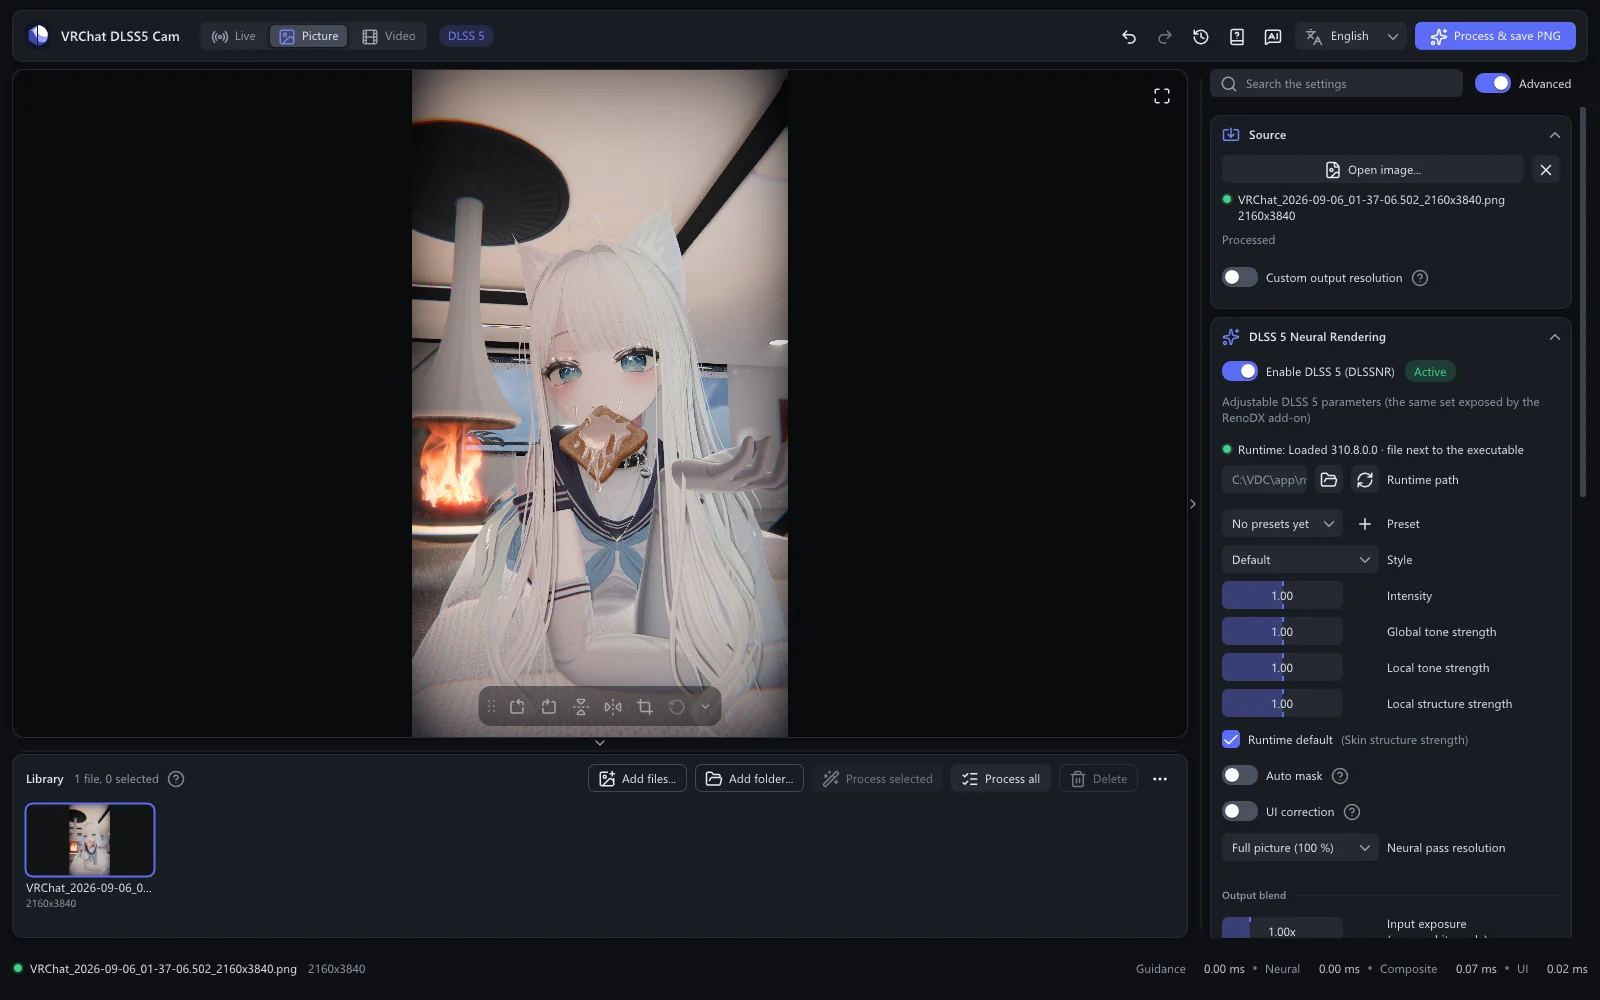
The photo appears. After a moment the section DLSS 5 Neural Rendering says Active, and the top bar shows a DLSS 5 badge.
A still picture runs through DLSS 5 several times until the result settles. That takes a second or two.
Compare
At first the picture area shows only the DLSS 5 output, the photo as DLSS 5 renders it again:
To see the original next to it, switch to the wipe view:
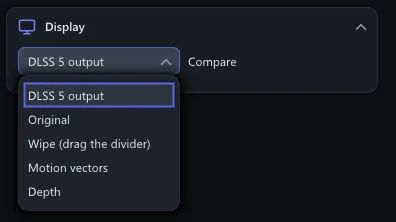
In the sidebar, find the section Display. The quickest way is to type
Compareinto Search the settings at the top of the sidebar.Open the Compare list and choose Wipe (drag the divider).
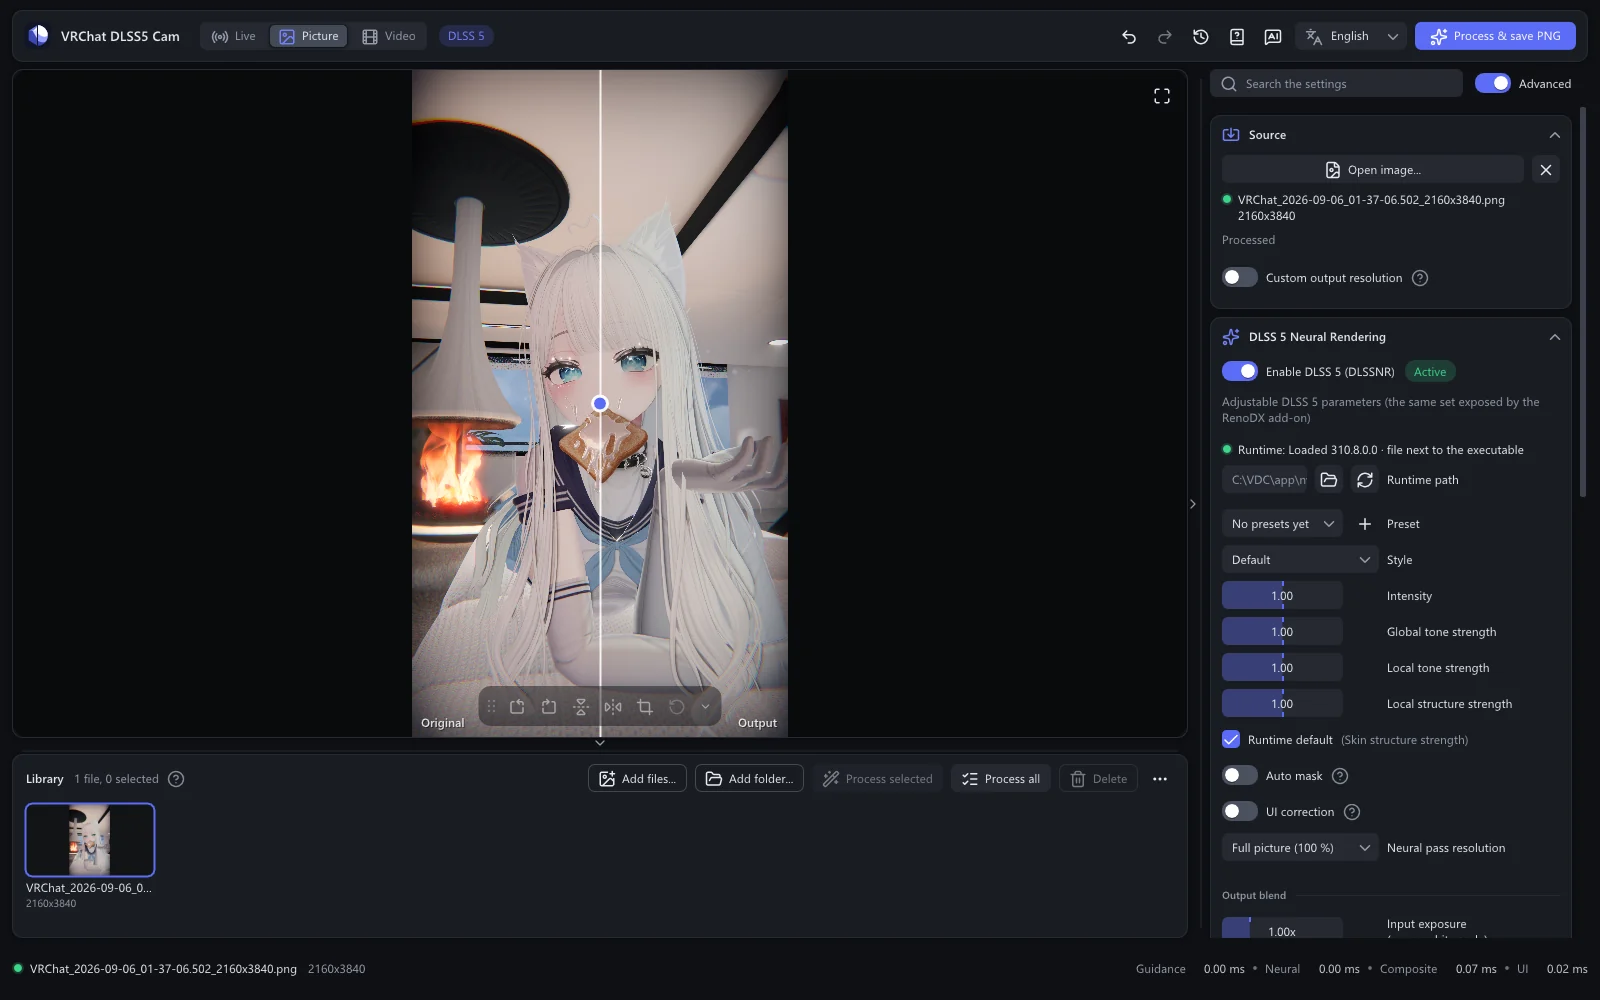
A white line with a round handle splits the picture: the original on the left, the DLSS 5 output on the right.
Drag the handle to move the line. The slider that appears under Compare moves it too. You can try it here:
The app remembers the view for the next start. To see only the result again, choose DLSS 5 output in the same list. Original shows only the photo as it was.
These work in every view:
- Zoom: turn the mouse wheel over the picture. It zooms around the pointer.
- Move around: drag the picture.
- Whole picture again: double-click.
- Fullscreen: F11. Esc or F11 leaves.
Adjust the look
The section DLSS 5 Neural Rendering holds the look. Every change shows at once.
- Intensity: how strongly the picture is rendered again. 1 is the runtime's own look, 0 leaves the picture as it is, and above 1 the change is exaggerated.
- Style: Default, Natural or Cinematic.
Changed too much? Ctrl+Z undoes the last change. Reset to defaults at the end of the section brings back the starting values.
Save
Click Process & save PNG at the top right.
The status bar at the bottom names the saved file. The button next to the name shows it in Explorer.
The file goes to Pictures\VRChat DLSS5 Cam and is named after the original, for example photo_DLSS5_1920x1080.png. A PNG is lossless: nothing is lost to compression. Change the folder or the name